|
||||||
|
|
|
Device Configuration Guides
AXON Virtual PBX Software v. 2.01
Axon is a virtual PBX for Windows or Linux designed to manage calls in a business or call center. Any business, whether small or large, can now implement a scalable VoIP based PBX by installing this software on any PC. The software works as a fully featured telephone switch connecting to phone lines and extensions using state-of-the-art VoIP technology. Offering all the normal features of a traditional PBX such as allowing internal or external calls and more advanced call queuing for call center applications the software routes all calls within a business. Axon VoIP PBX can also be used in conjunction with our other telephony software including or On-Hold Messages System, Voice Call Recording Software, Call Attendant, Voice Mail and IVR Software or Internet Phone. For an overview on how Axon can be used with our software in a call center environment, click here. Axon is free but has limited capacity (it is suitable for up to 10 extensions). We make Axon free in the hope that you will upgrade to Axon Plus which features unlimited extensions and external lines
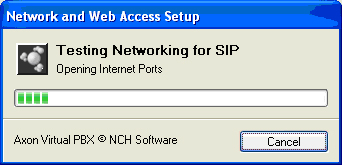
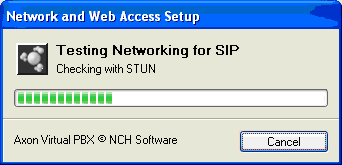
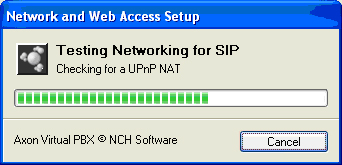
STEP 5 The following pictures are provided to you as a guide for various network setups and configurations Please be aware that you may or may not see each of these pictures as they are based on your current local network setup relating to any firewall and/or port settings.
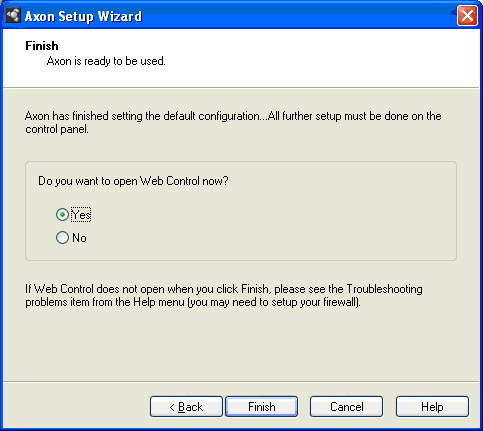
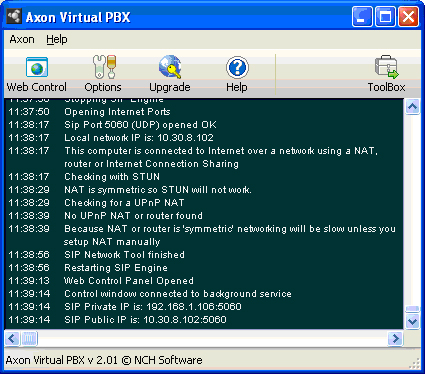
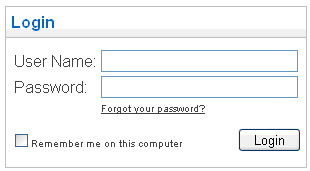
STEP 6 Choose Yes and click Finish to open the Web Control panel. Once you have clicked Finish, your Axon PBX software window will open and your web browser will open up to allow you web based log in access to the PBX and all settings.
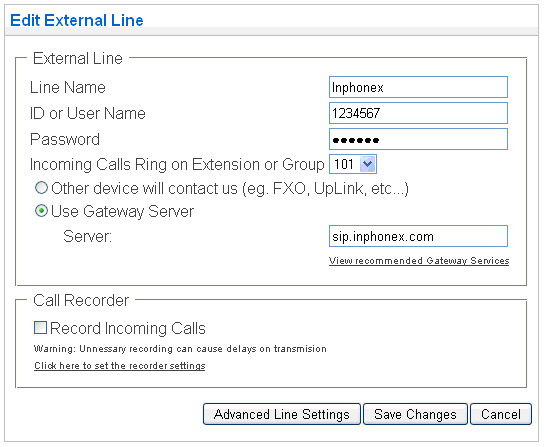
STEP 7 Click on "External Lines" to configure your account on your PBX. If you are using the free version of the PBX you will need to delete all Line's from this list in order to add a new line for your account. Confirm delete for each of the items and continue until all have been deleted from the list.
Now that all lines have been removed, let add your account to the PBX. Click on the "Add New External Line" button. You will now need to fill in the following information relating to your account: Line Name: Inphonex Use Gateway Server should be set to: sip.inphonex.com Click Save Changes and your line will register to our servers and show connected in your PBX status window when ready.
PLEASE NOTE: Several other configuration options are available within this PBX software such as IVR menu's, voicemail, and queue's. For help setting up these and many other options please contact NCH support.
|
||||||||||||||||||||||
|
Our Home Phone Service includes Internet phones with free Internet calling and unlimited US and Canada plans. We offer prepaid phone service and International DID numbers using our voice over IP system and an analog telephone adaptor (ATA). The solutions are designed for home phone service, business phone service, call shops, telemarketing firms and cyber cafes. InPhonex is proud to support Internet telephony equipment (IP Phones) including Sipura 2000, Sipura 3000, Cisco 186, Linksys PAP2 and other SIP phone adaptors. We also support Asterisk PBX, Trixbox and offer turn-key VoIP Reseller business opportunities to let entrepreneurs and businesses resell voice over Internet (VoIP) under their brand name. Copyright © InPhonex
|


